The Elite Epoxy Journal
Inside a 2,800-Square-Foot Luxury Resin Project in Sweetwater, Texas
See how Elite Epoxy completed a 2,800-square-foot Luxury Resin System across the interior and patio of a new Sweetwater, Texas home in four days.
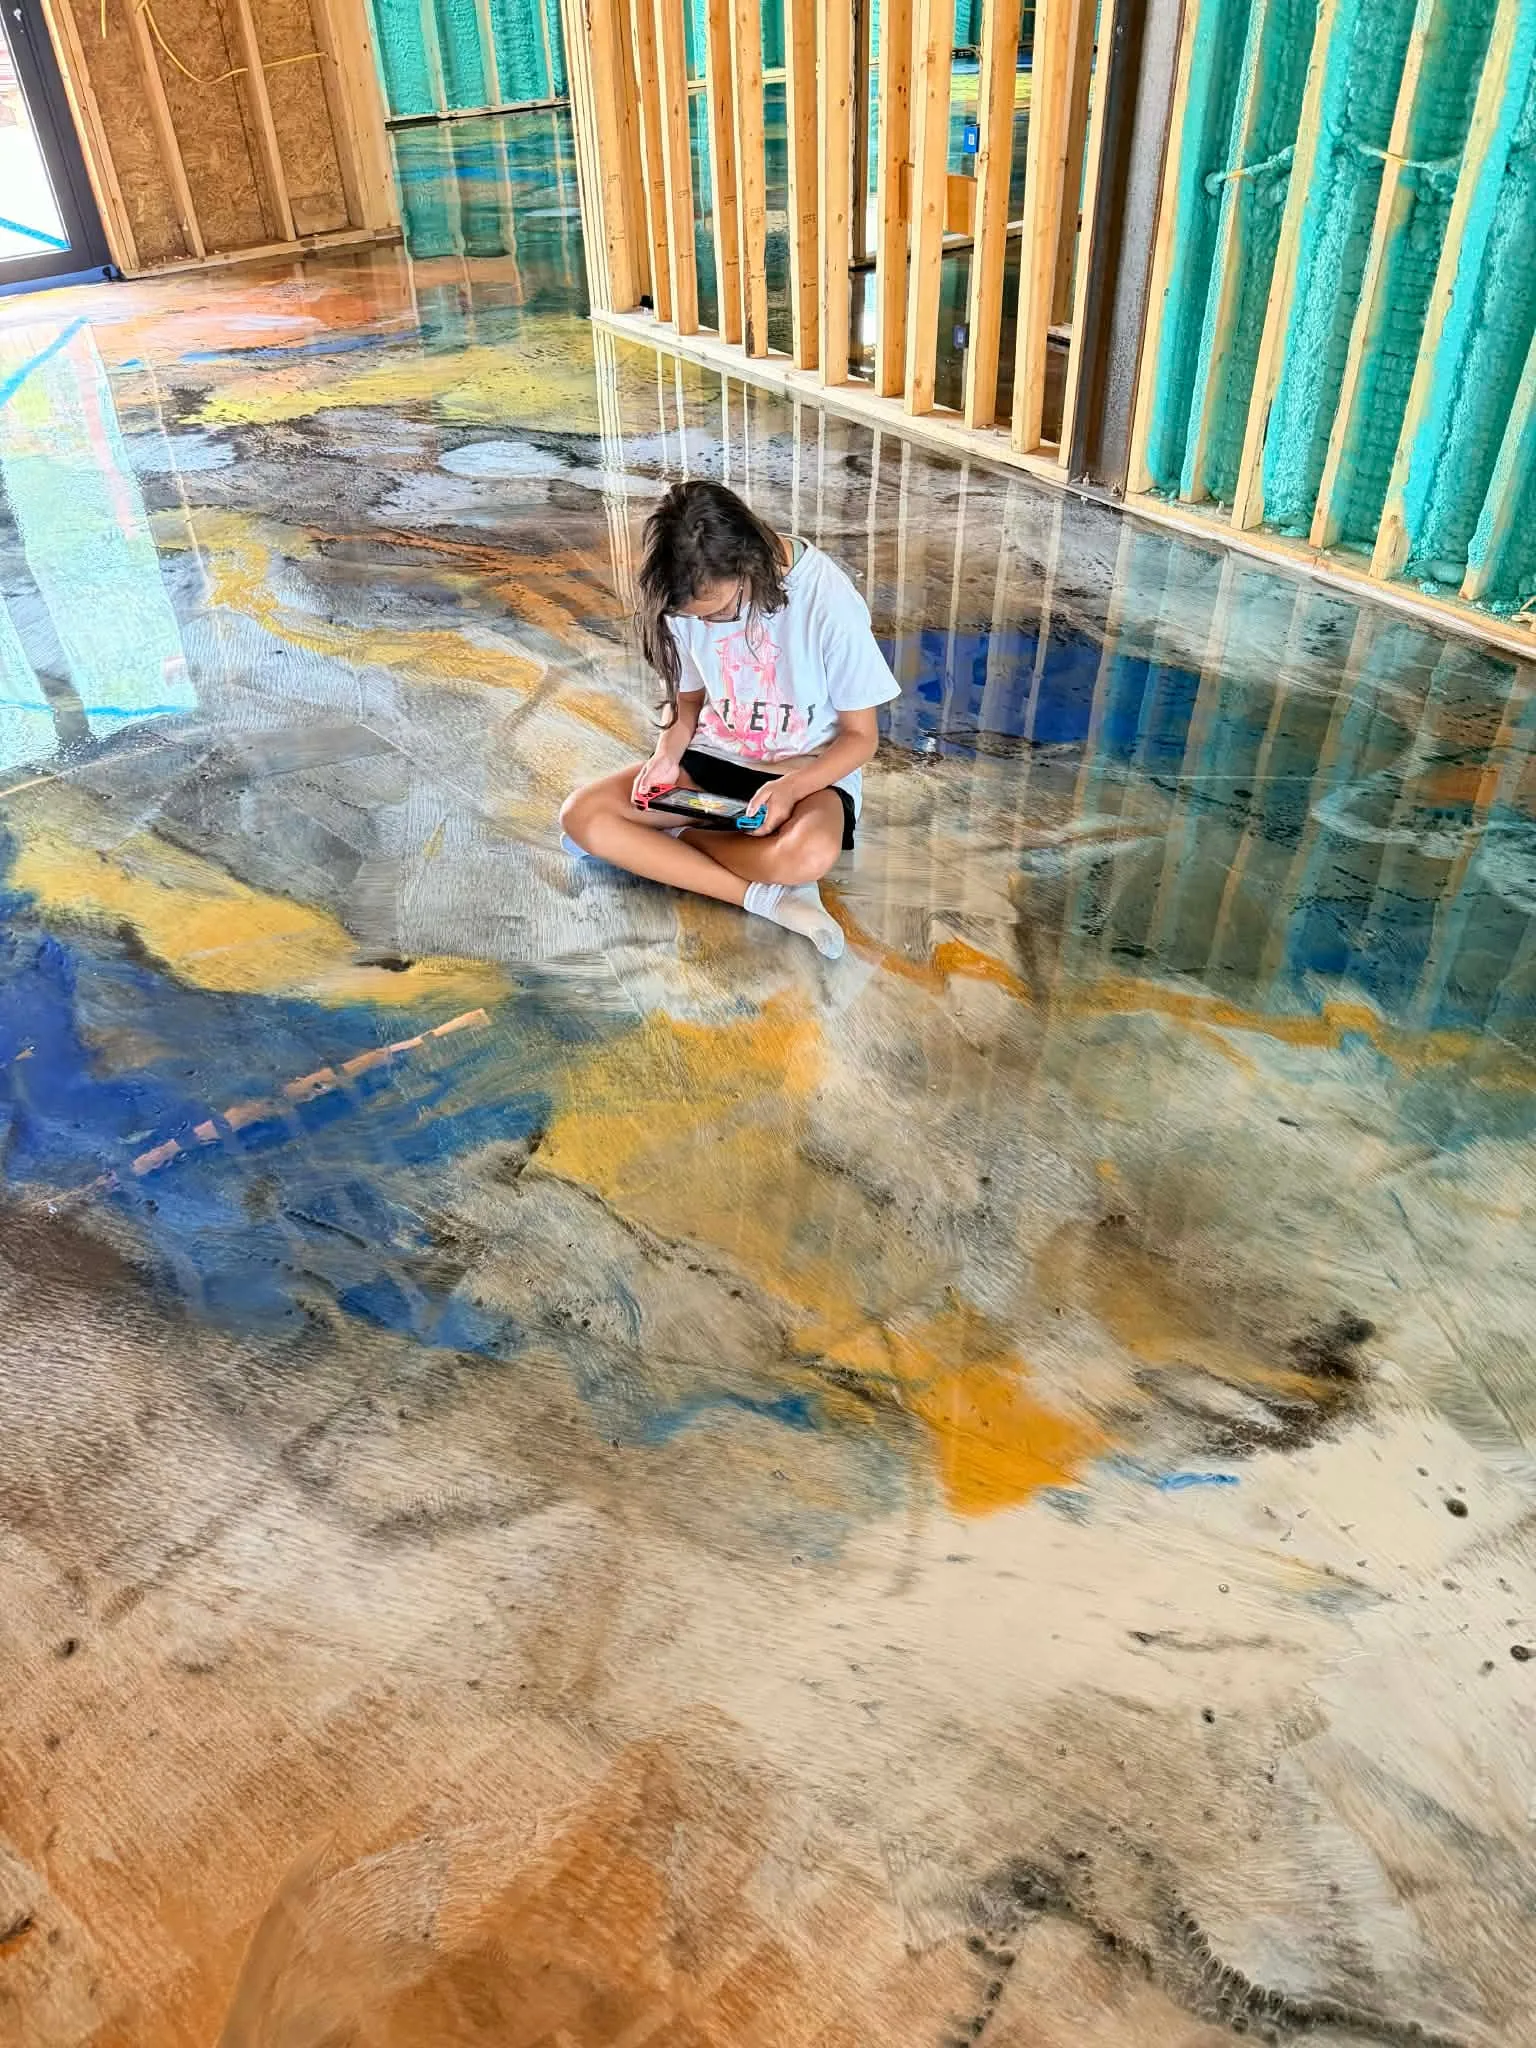
Some projects are best understood at full scale. This new-construction job in Sweetwater, Texas brought together approximately 2,800 square feet across the interior and patio. Elite Epoxy completed the work in four days using the Elite Epoxy Luxury Resin System.
The photographs below follow the project from its early condition through the finished result. Keeping the starting and progress images in the story makes the transformation easier to understand—and gives the completed surfaces the context they deserve.
Project At A Glance
- Location: Sweetwater, Texas
- Setting: New-construction home
- Total scope: Approximately 2,800 square feet across the interior and patio
- System: Elite Epoxy Luxury Resin System
- Project timeline: Four days
Starting With The Full Space
The opening view establishes the scale before the decorative work began. Open rooms, transitions, wall edges, and the patio all contributed to the combined 2,800-square-foot scope.
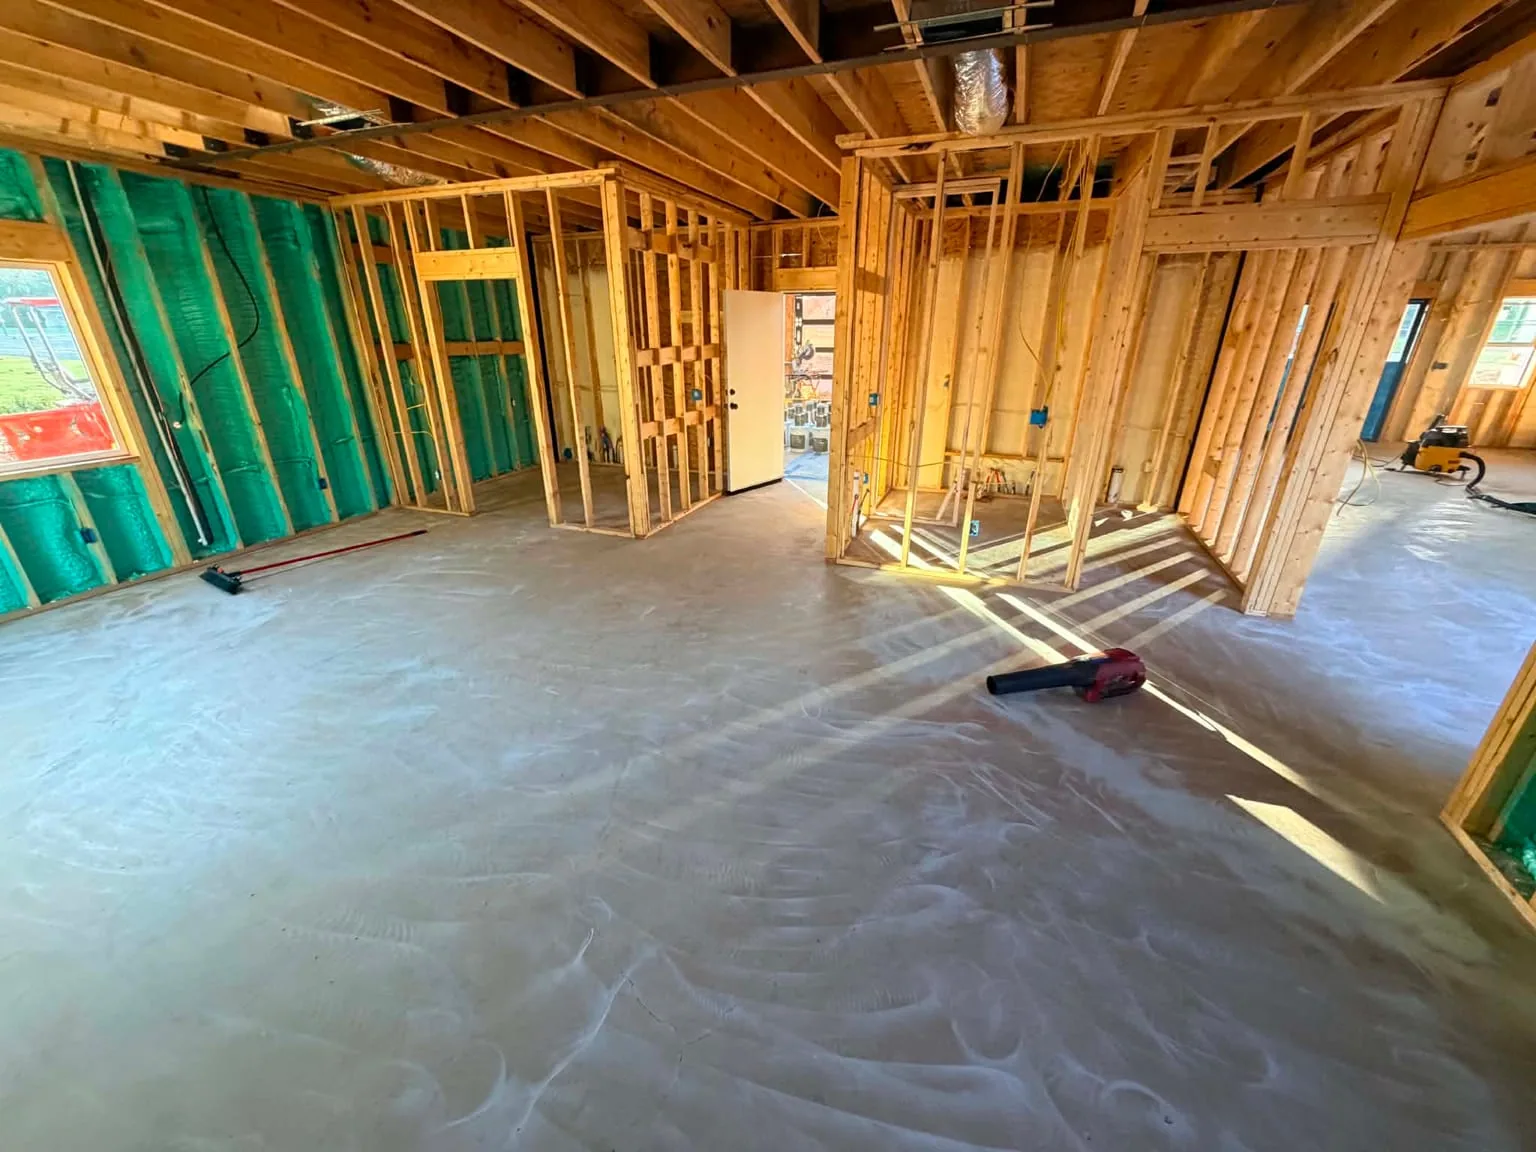
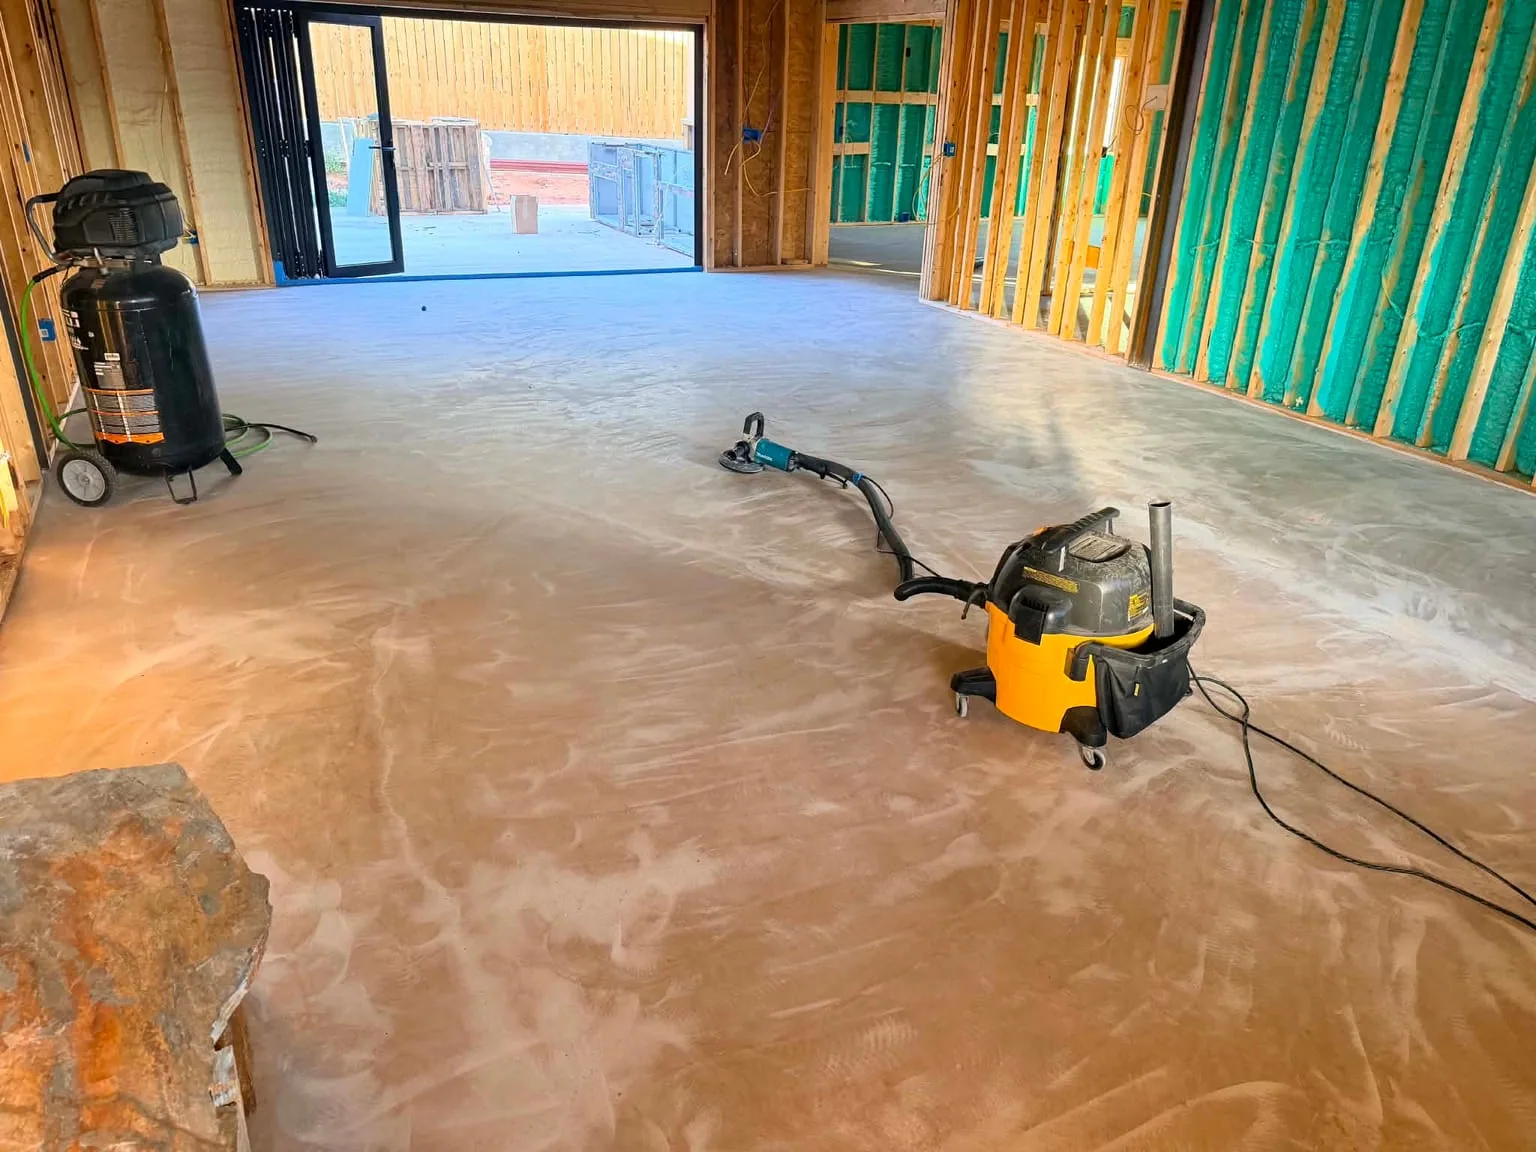
New concrete still needs an installation plan. The surface has to be assessed, cleared, and prepared across the entire footprint so the resin work begins from a consistent foundation.
One Project, Two Working Environments
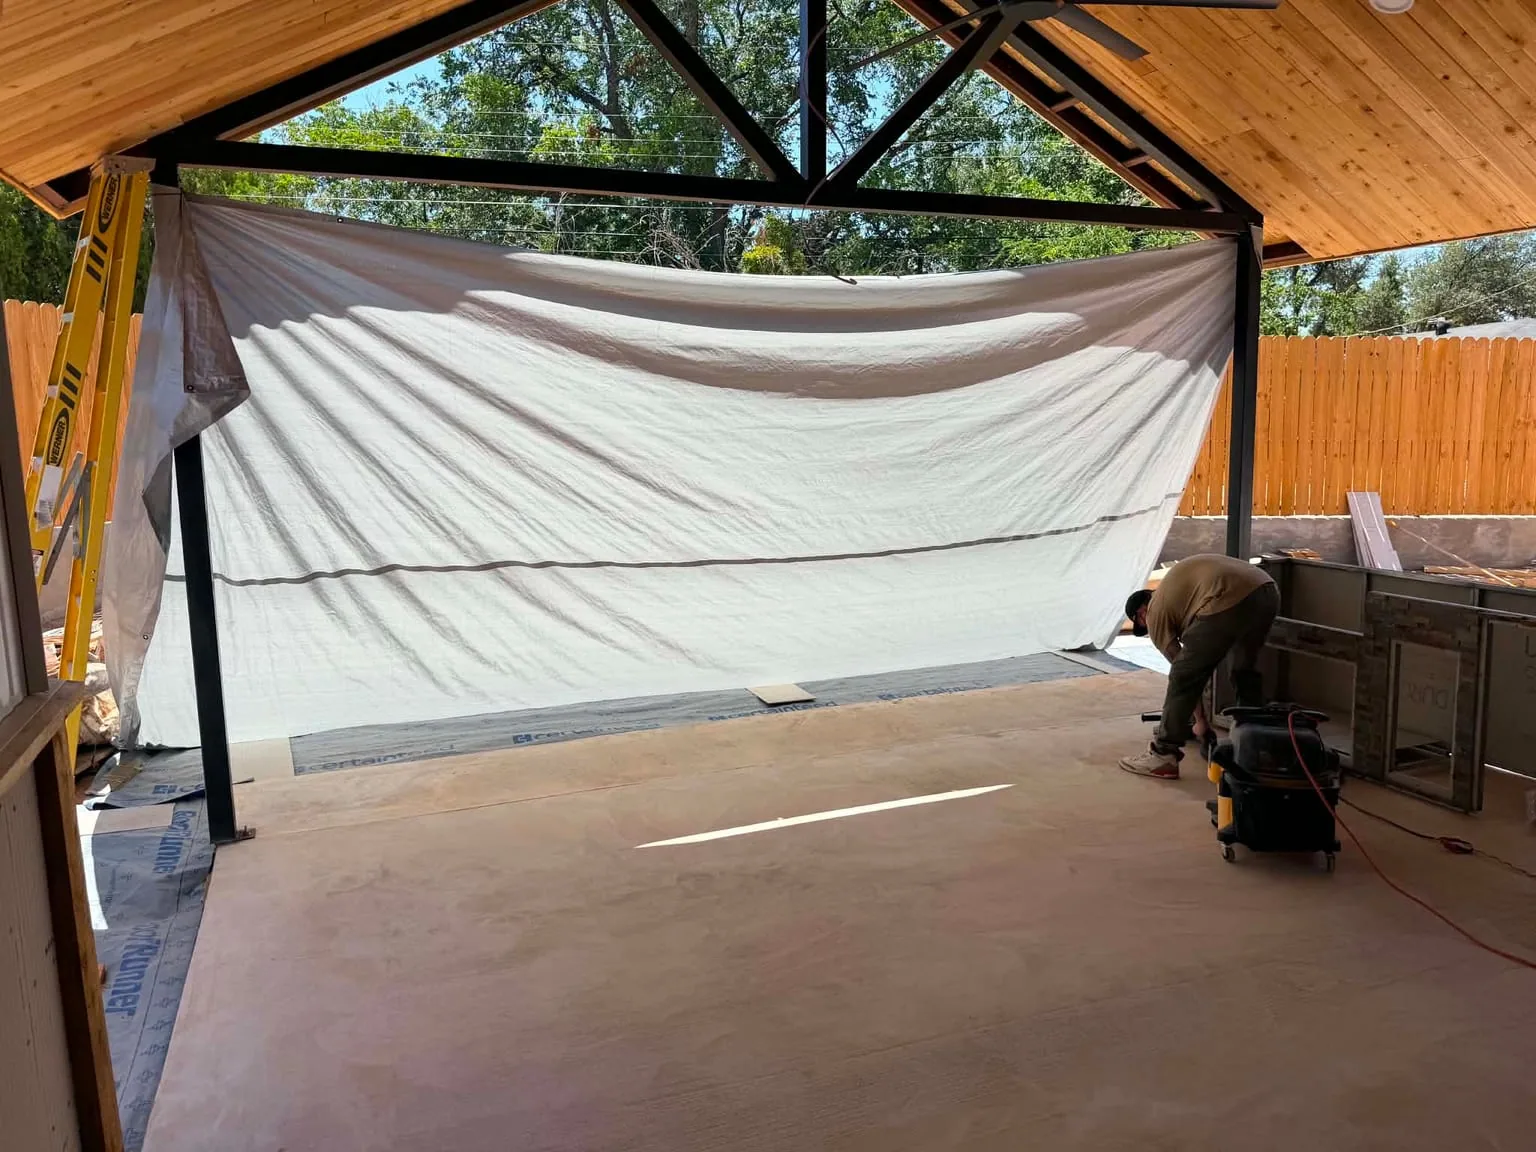
The patio was part of the reported total, but it was handled as its own work zone. Showing it separately keeps the record accurate and makes the combined interior-and-patio scope easier to see.
Following The Preparation
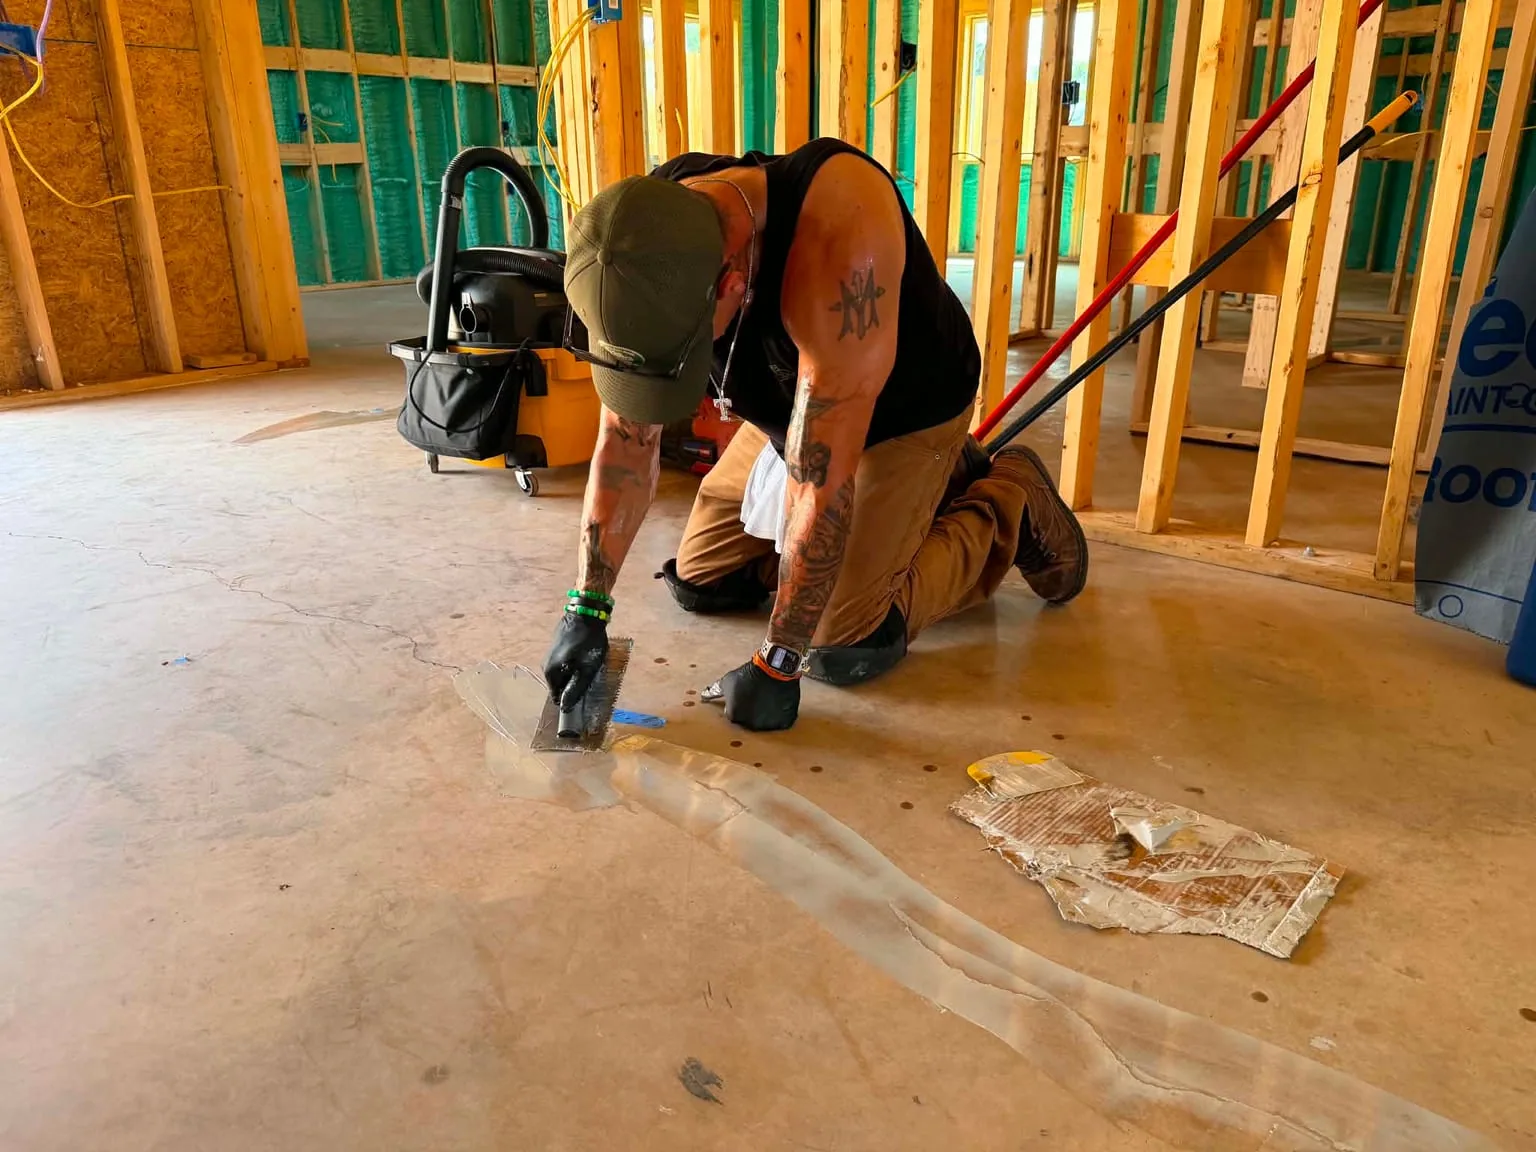
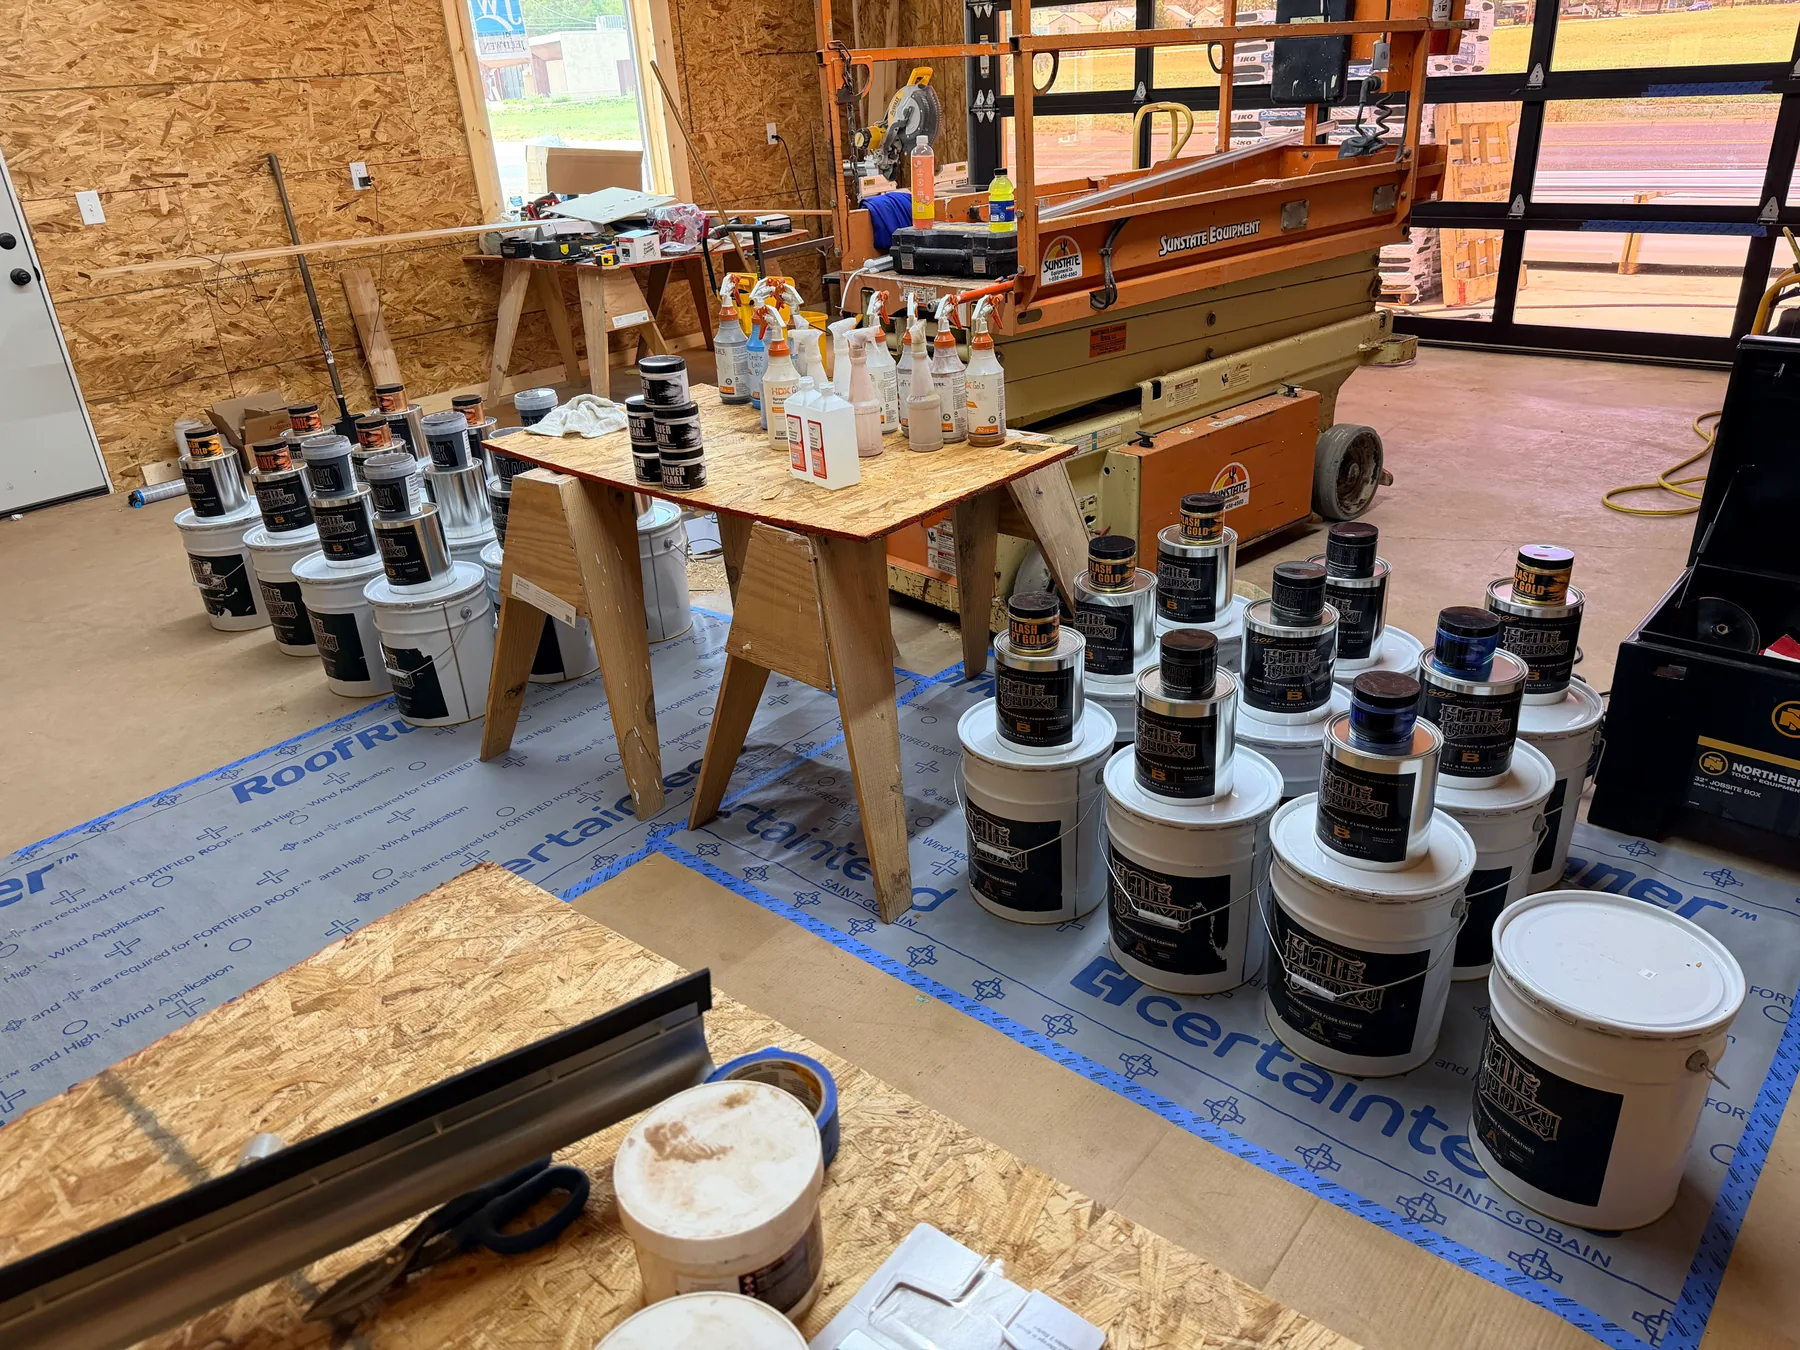
A finished resin floor can be shown in one photograph, but the progress images explain what came first. Mechanical surface work and detail preparation moved through the open construction before the decorative stages began.
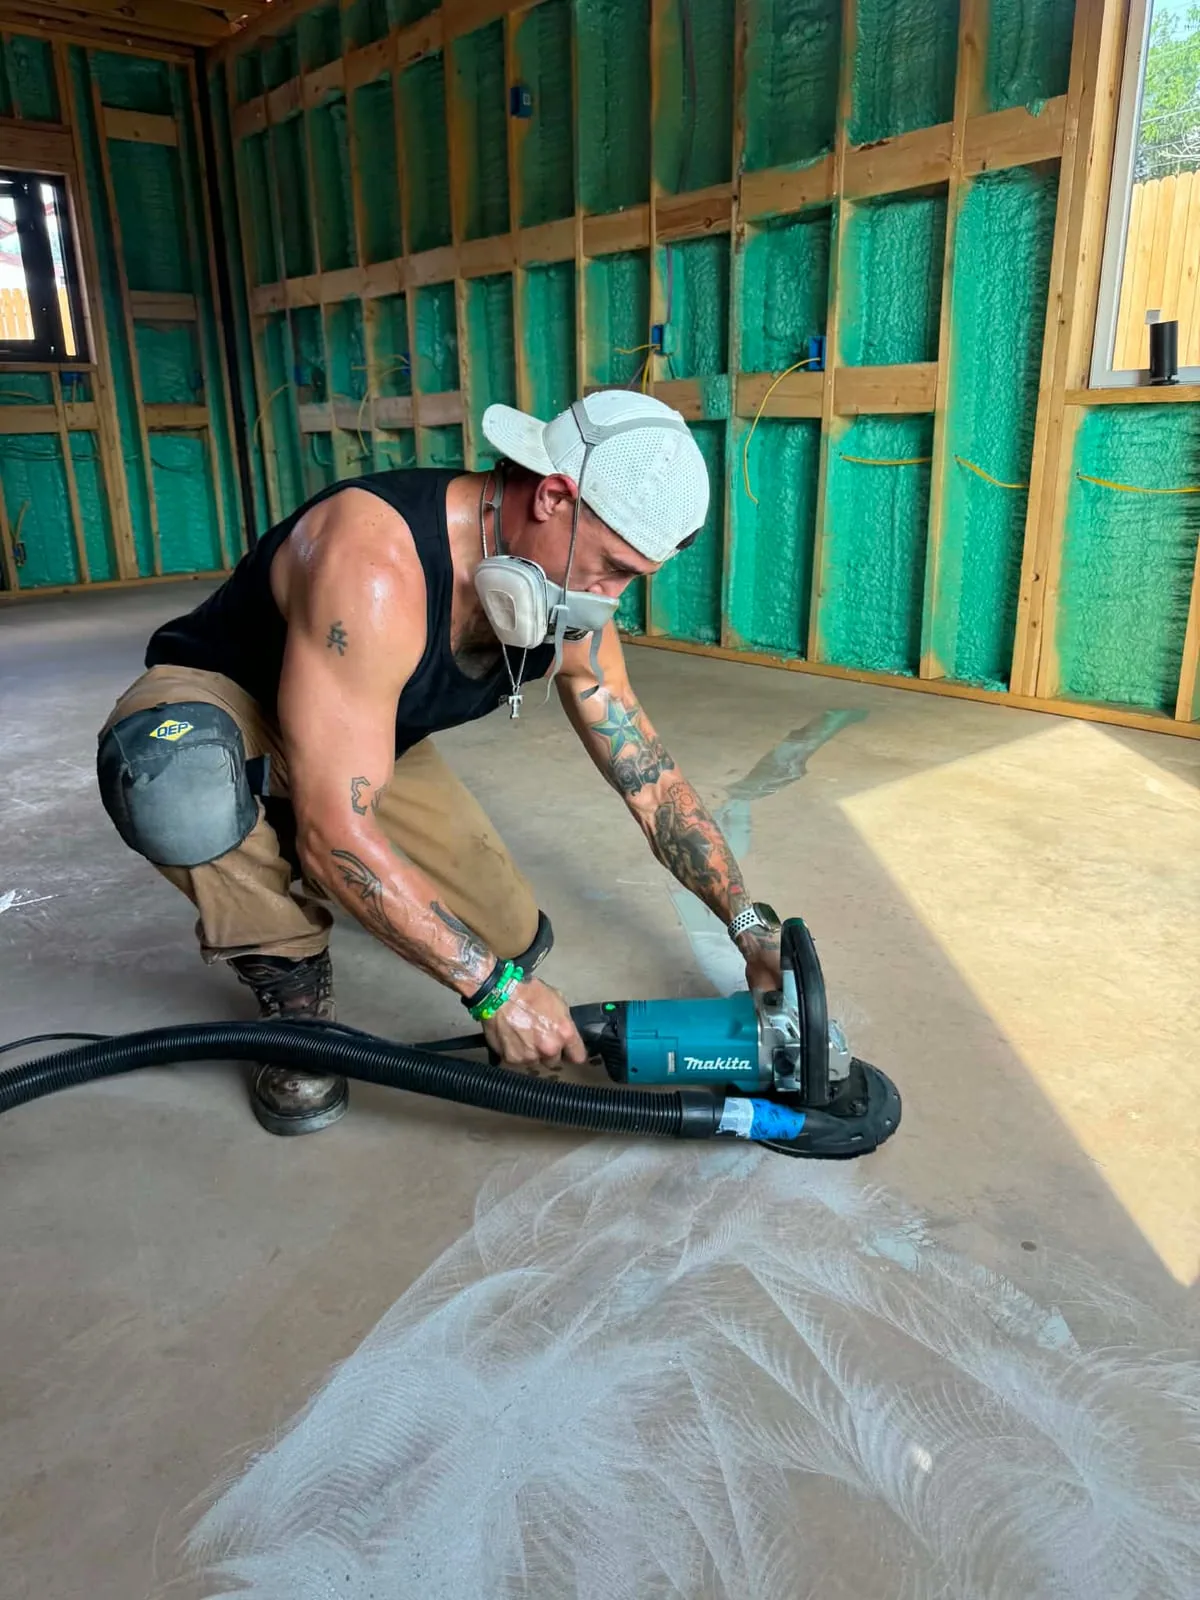
Visible cracks and transitions received focused attention instead of being hidden beneath the finished design. Those smaller areas are part of the same preparation story as the wide-open rooms.
Building The Luxury Resin Finish
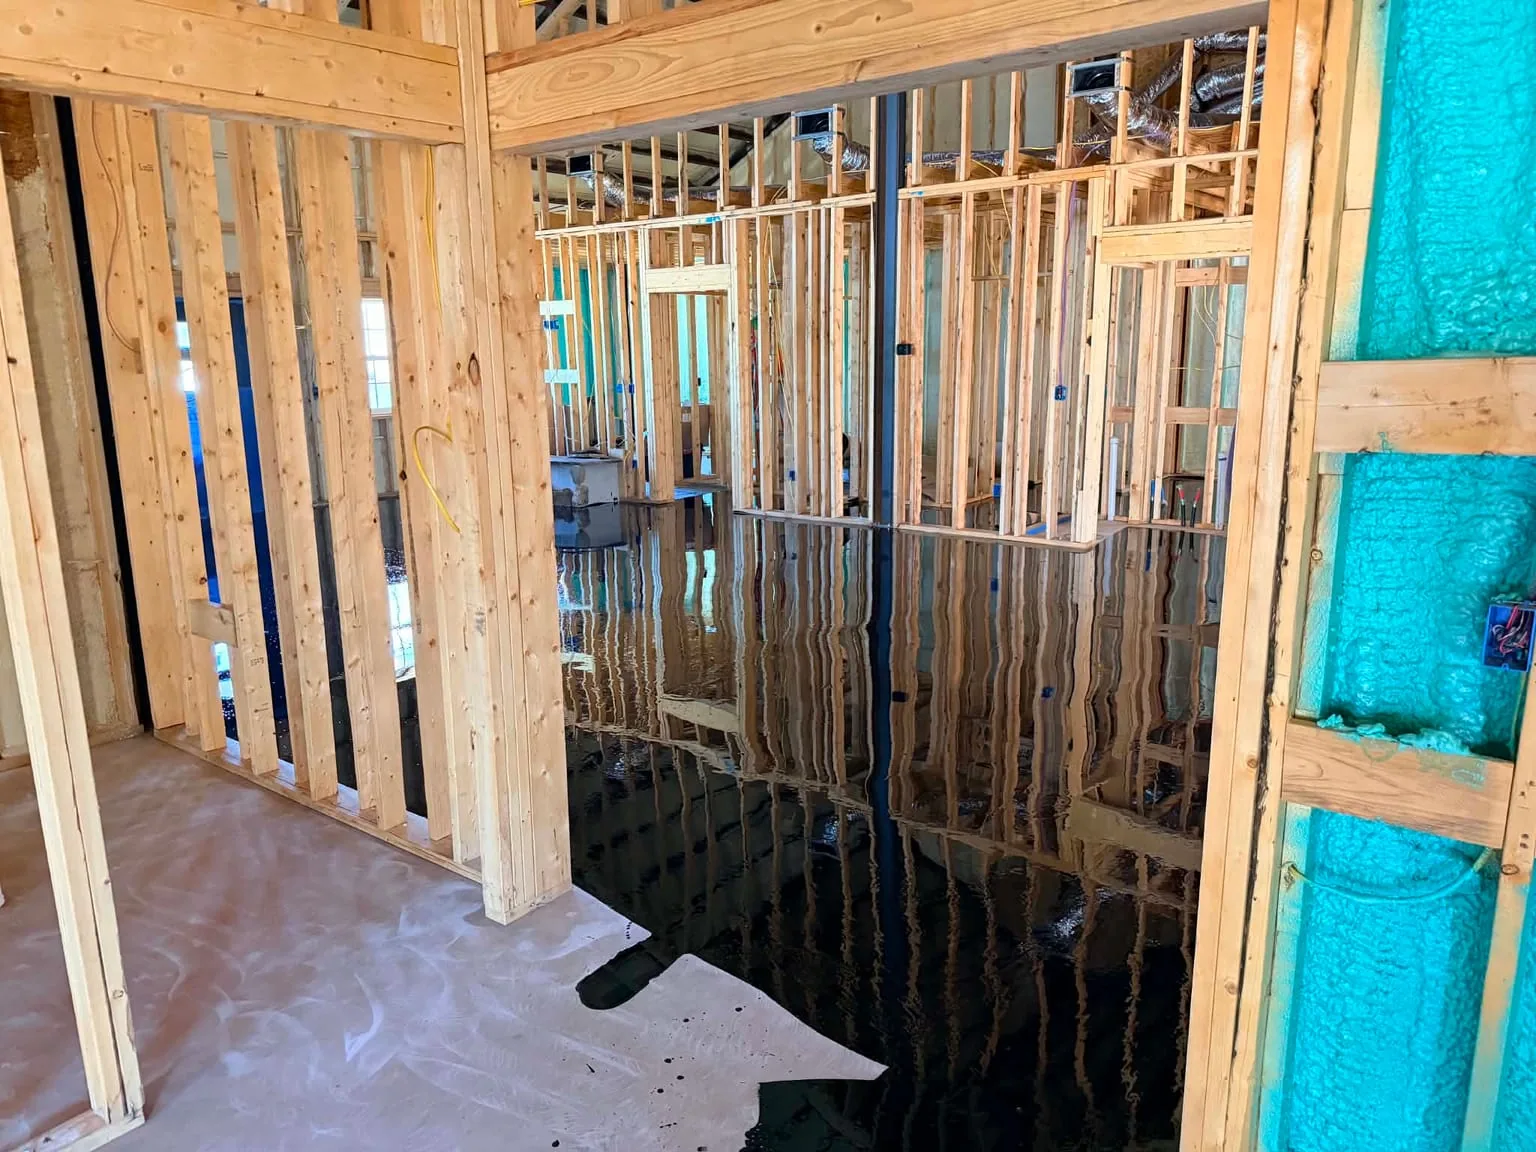
The next documented stage brought a dark, reflective foundation across the interior. This is the MVB I spoke about above. Against the unfinished framing, it makes the transition from prepared concrete to the developing resin surface especially clear.
The Finished Result
In the finished interior, copper, blue, gold, black, and pearl tones move differently from room to room. Wide views show how the floor connects the home, while closer angles reveal the depth and variation inside the custom finish.
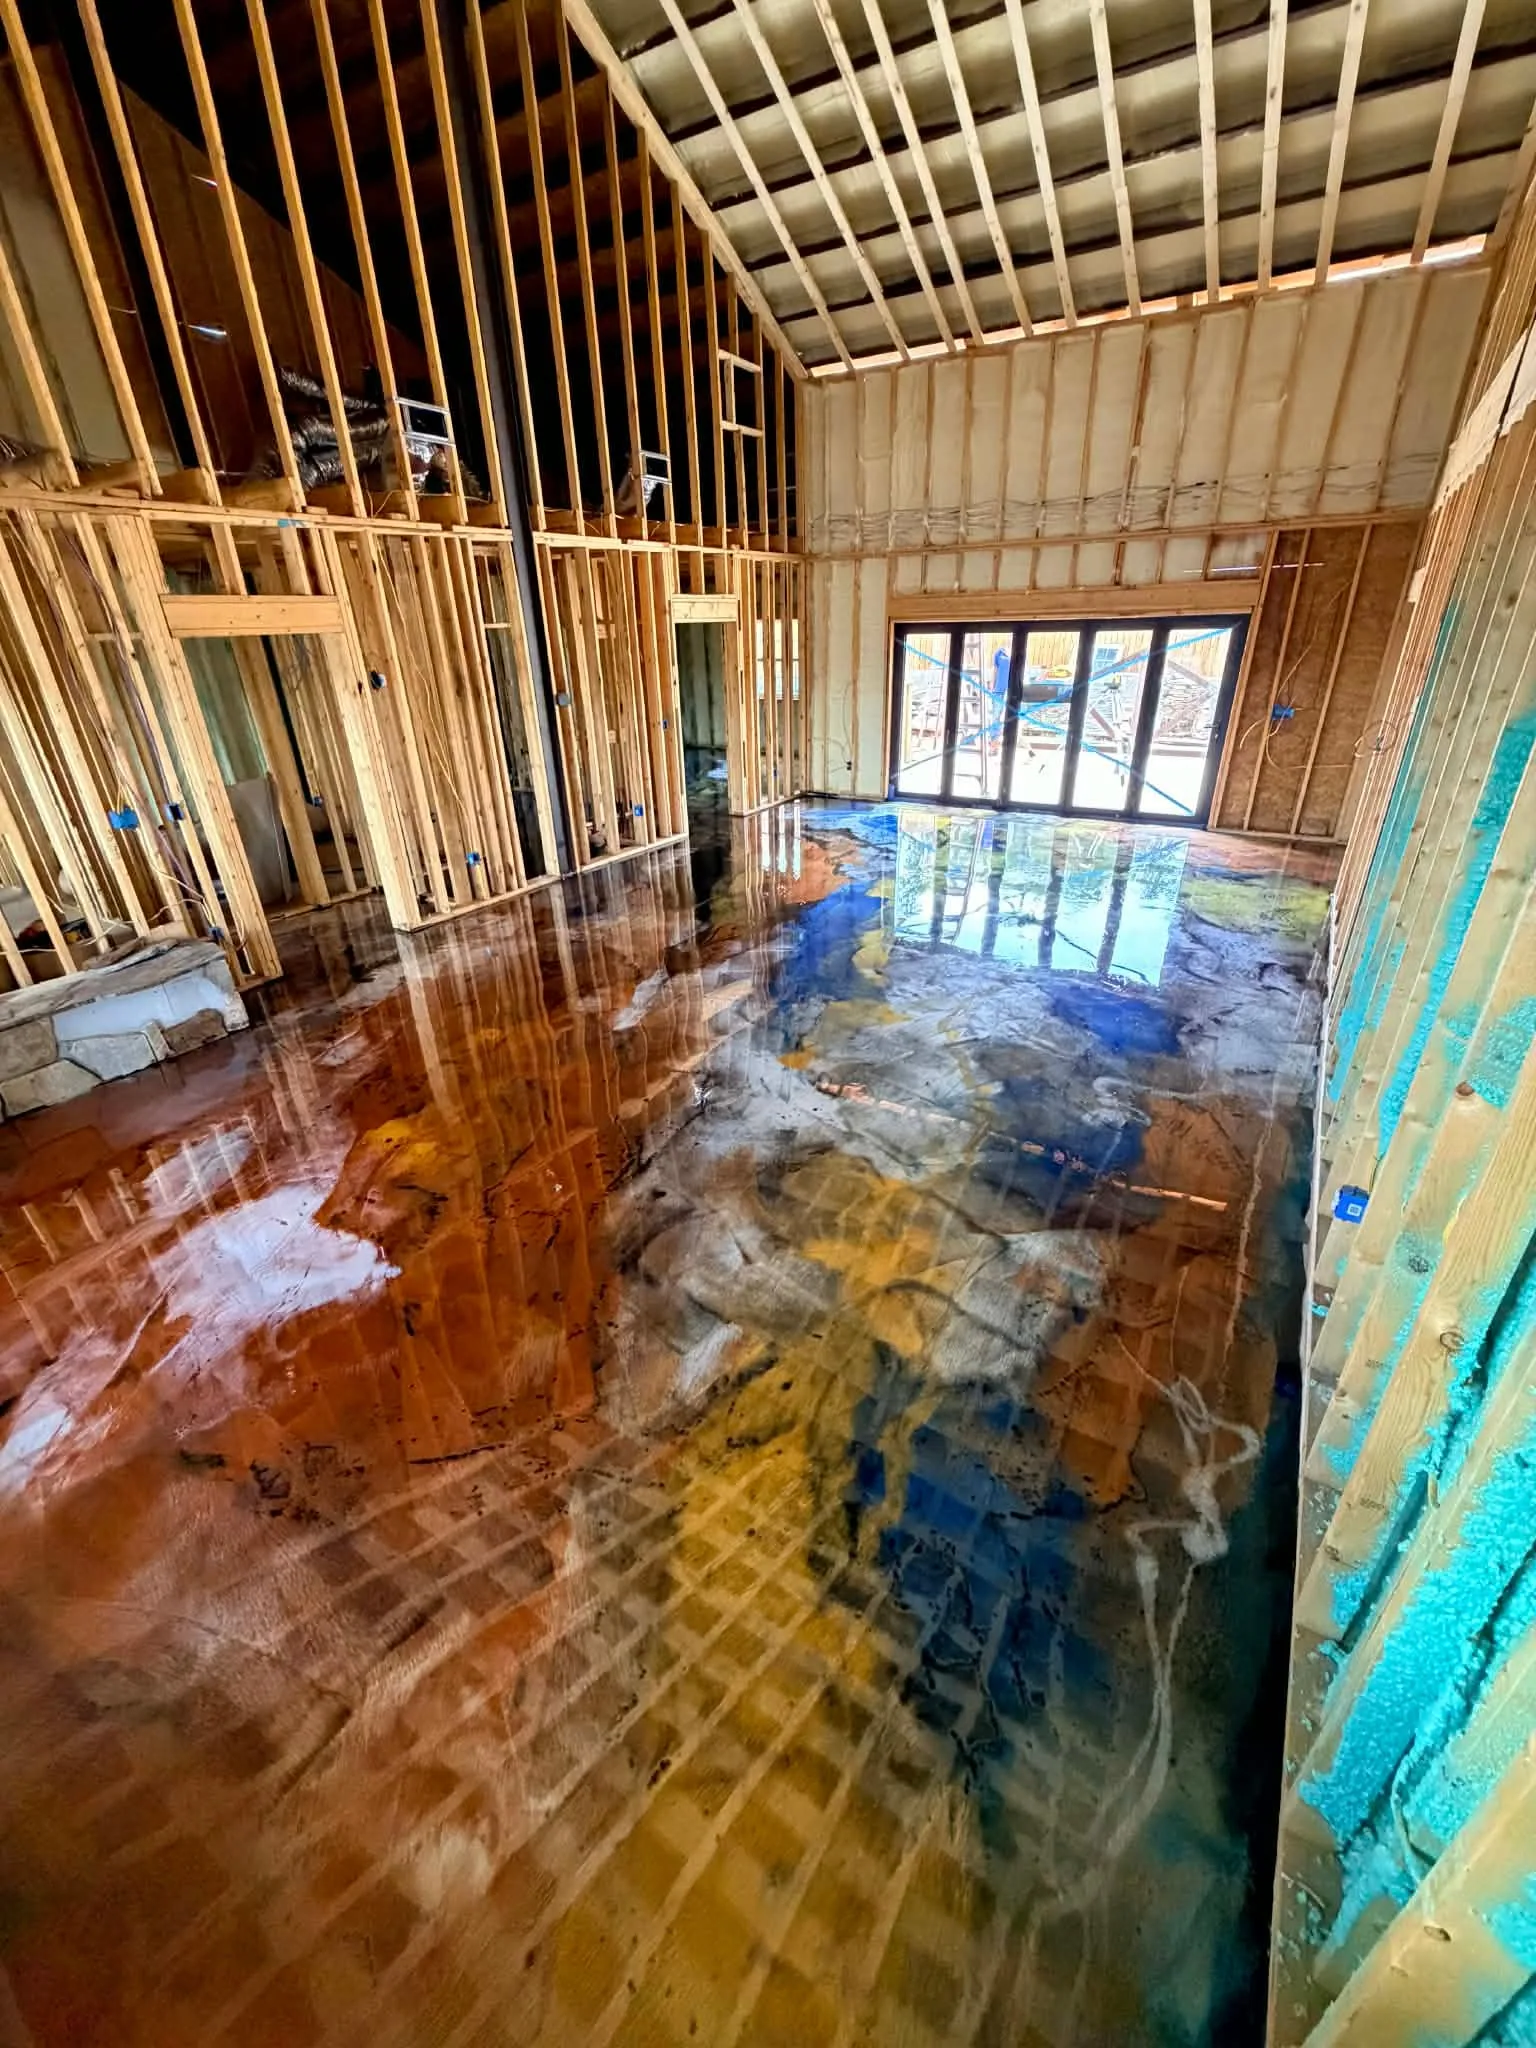
What began as new-construction concrete became a custom resin project spanning interior living space and patio area. The four-day timeline is specific to this Sweetwater installation; every future project is evaluated around its own size, surface, conditions, and finish.
Do it right the first time.
Planning A Resin Project Of Your Own?
Tell Elite Epoxy where the project is located, the approximate square footage, which areas are included, and the finished look you have in mind. Photos of the current surfaces are a helpful place to begin the estimate conversation.
Ready to talk?
Put The Right System Under Your Project
Tell Elite Epoxy about the space, finish, and timeline you have in mind.